Adding Filters
- Click the Filter button in your leads view
- Select a field to filter by
- Choose an operator and value(s)
- Filter is applied immediately
What You Can Filter By
- Status & Priority — Find leads at specific pipeline stages or priority levels
- Source & Type — Filter by how you found the lead or what kind of deal it is
- Location — State, county, or city
- People — Who’s assigned, which team, which project
- Dates — Contact date, expected close, contract date, closing date
- Search — Find leads by title
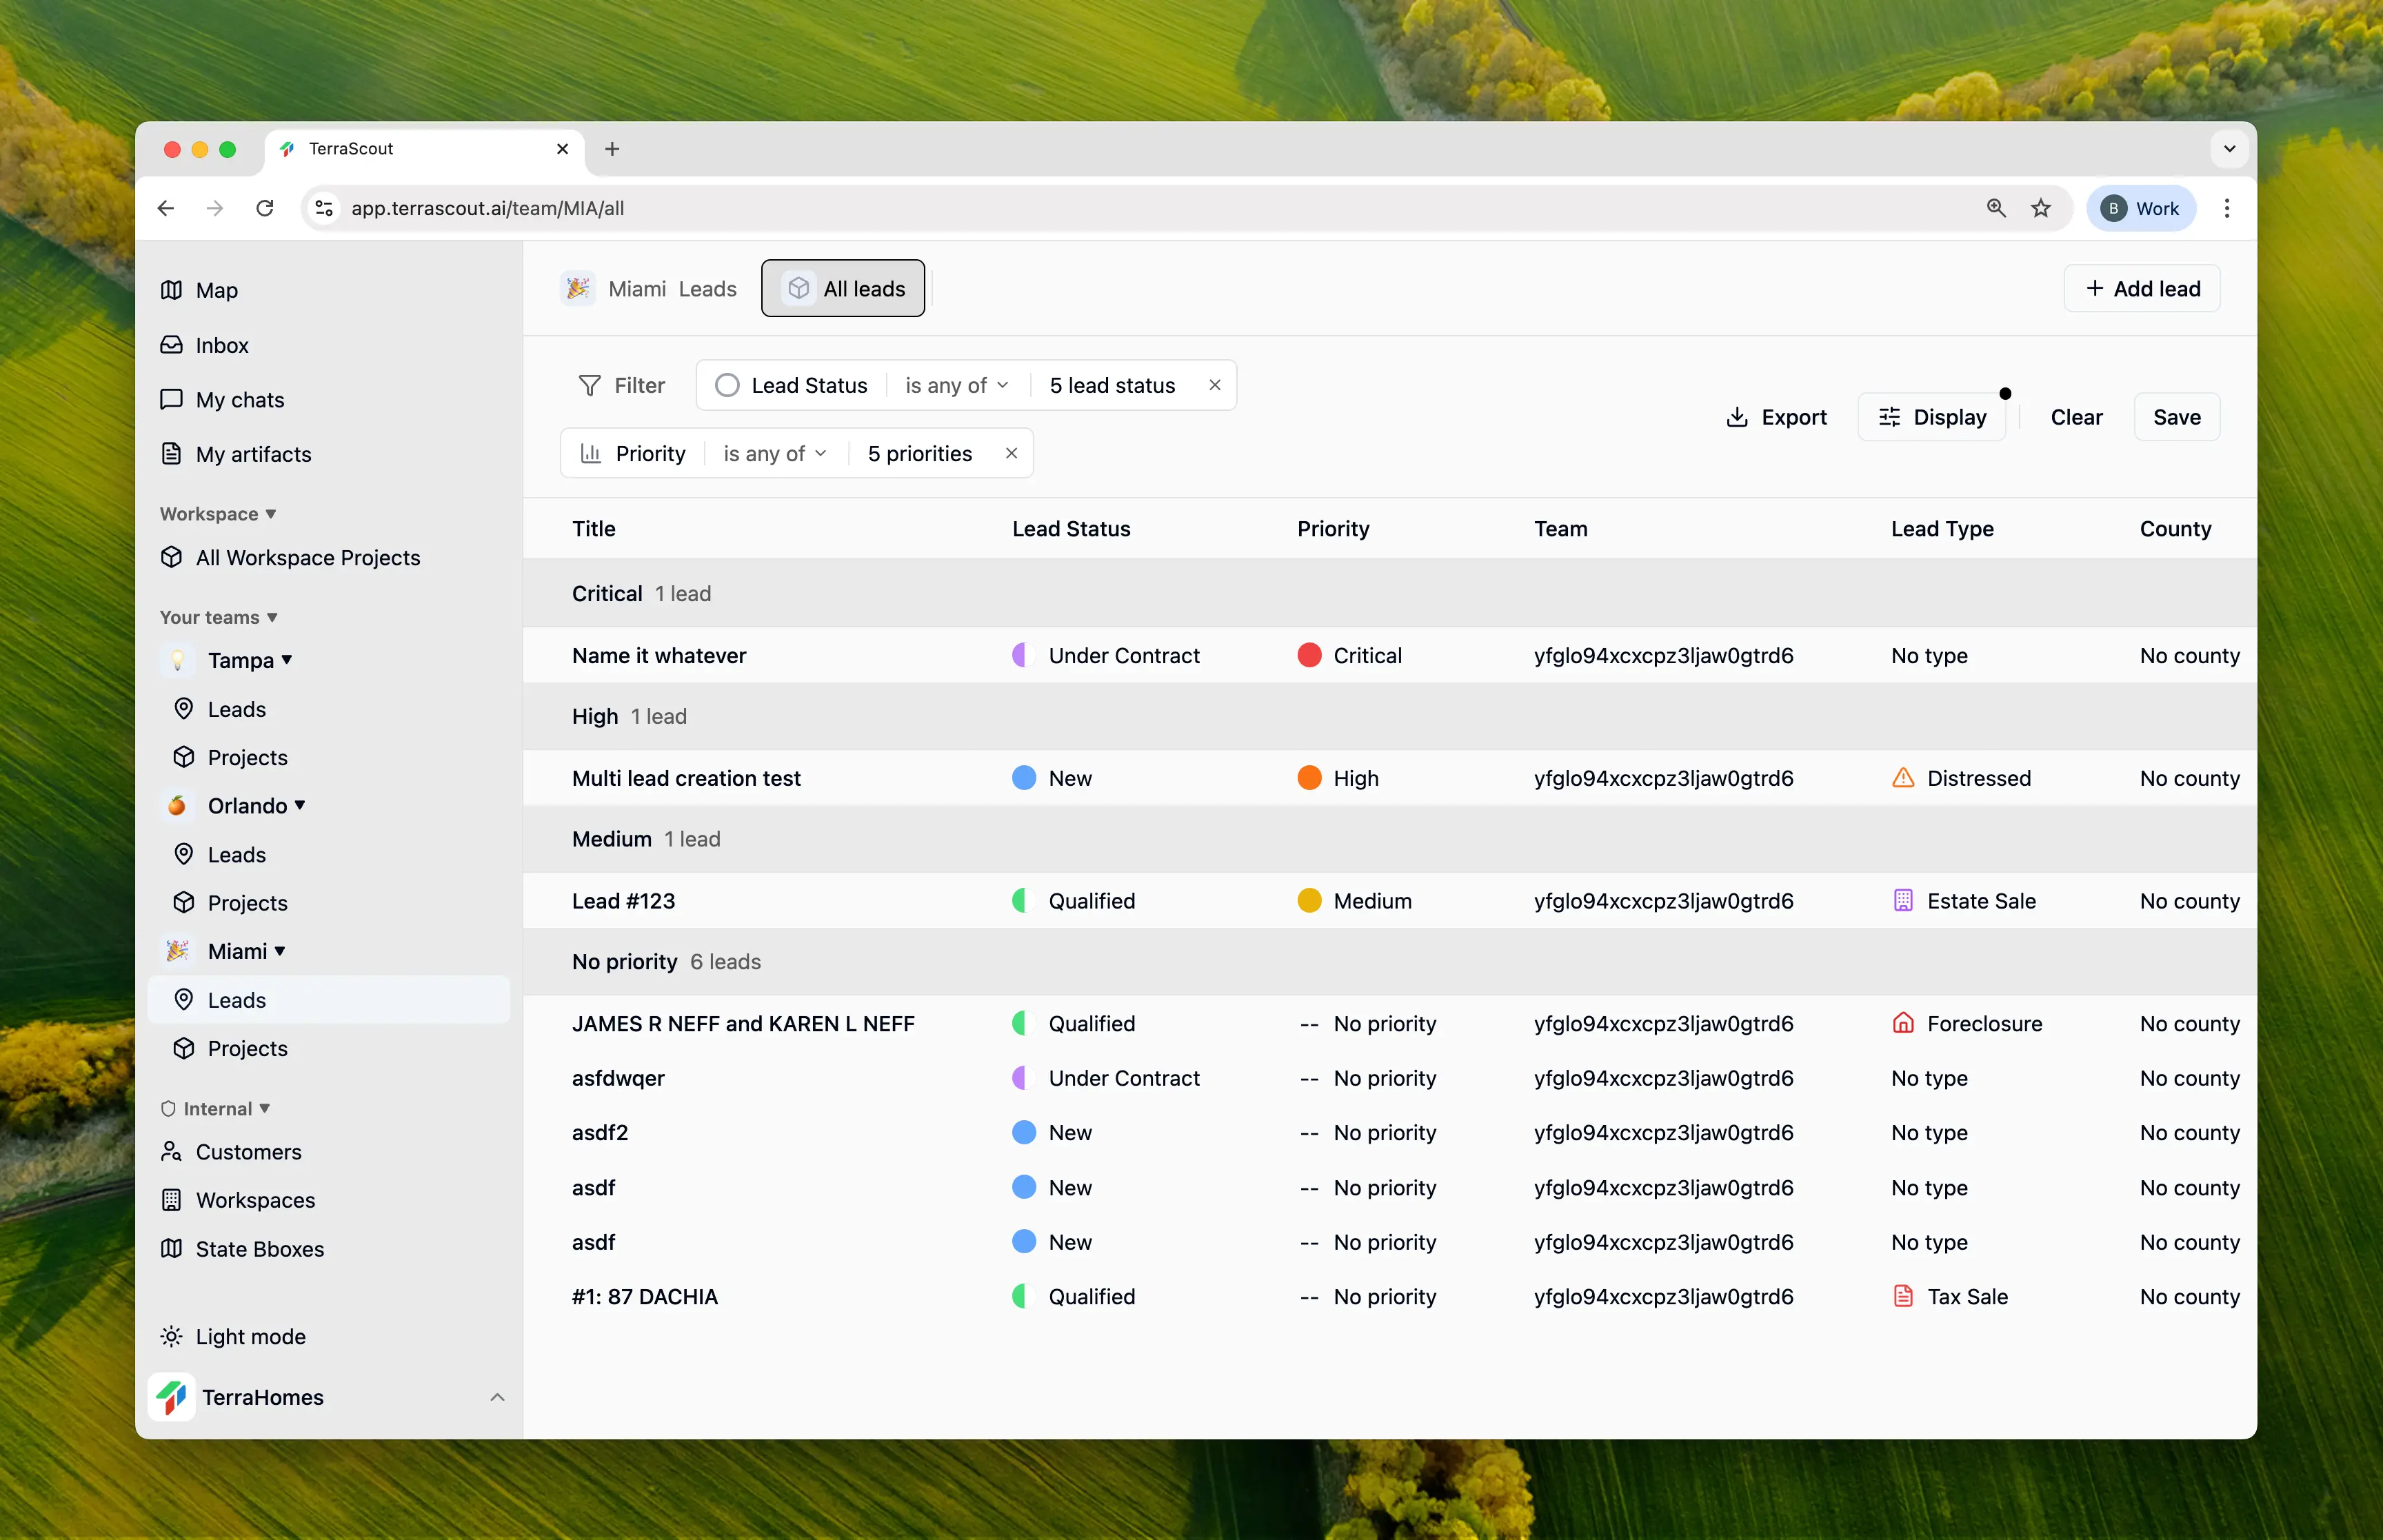
Combining Filters
- Multiple filters use AND logic—all conditions must match
- Multiple values in one filter use OR logic—any value can match
- Status is “Qualified” AND Priority is any of “High, Critical”
- Shows all qualified leads that are either high priority or critical
Grouping Leads
Beyond filtering, group your leads by:- Status - See pipeline stages
- Priority - Focus on what matters
- Assigned To - View by team member
- Team - Organize by team
- No Grouping - Flat list
Sorting
Sort your filtered results by:- Any visible column
- Ascending or descending
- Default: Most recently updated
Saving Views
Create custom views to save your filter combinations:- Set up your filters
- Click Save View
- Name your view
- Access it anytime from the views menu
- “My Active Leads” - Assigned to me, not closed
- “Hot Opportunities” - Critical/High priority, Qualified+
- “Closing This Month” - Expected close in current month
- “Needs Follow-up” - Contacted, no activity in 7 days
Display Settings
Customize which columns appear:- Click the Display settings
- Toggle columns on/off
- Reorder columns as needed
- Save as default for this view
Tips for Effective Filtering
Start Simple
Begin with one or two filters and add more as needed.
Save Common Views
Create saved views for filters you use repeatedly.
Use Date Filters
Find leads needing attention with date-based filters.
Combine with Grouping
Filter first, then group to see patterns in results.