Create Your Account
Go to app.terrascout.ai and sign up using either:- Google: One-click sign up with your Google account
- Email: Enter your email and we’ll send you a magic link
What’s a Magic Link?
A magic link is a secure, one-time login link sent to your email. No password required. Just click the link in your inbox and you’re signed in. Each link expires after a short time and can only be used once.Create Your Workspace
After signing in, you’ll create your workspace. A workspace is your organization’s home in Ploti. What belongs to a workspace:- All billing and subscription management
- All members of your organization
- All projects, leads, and saved data
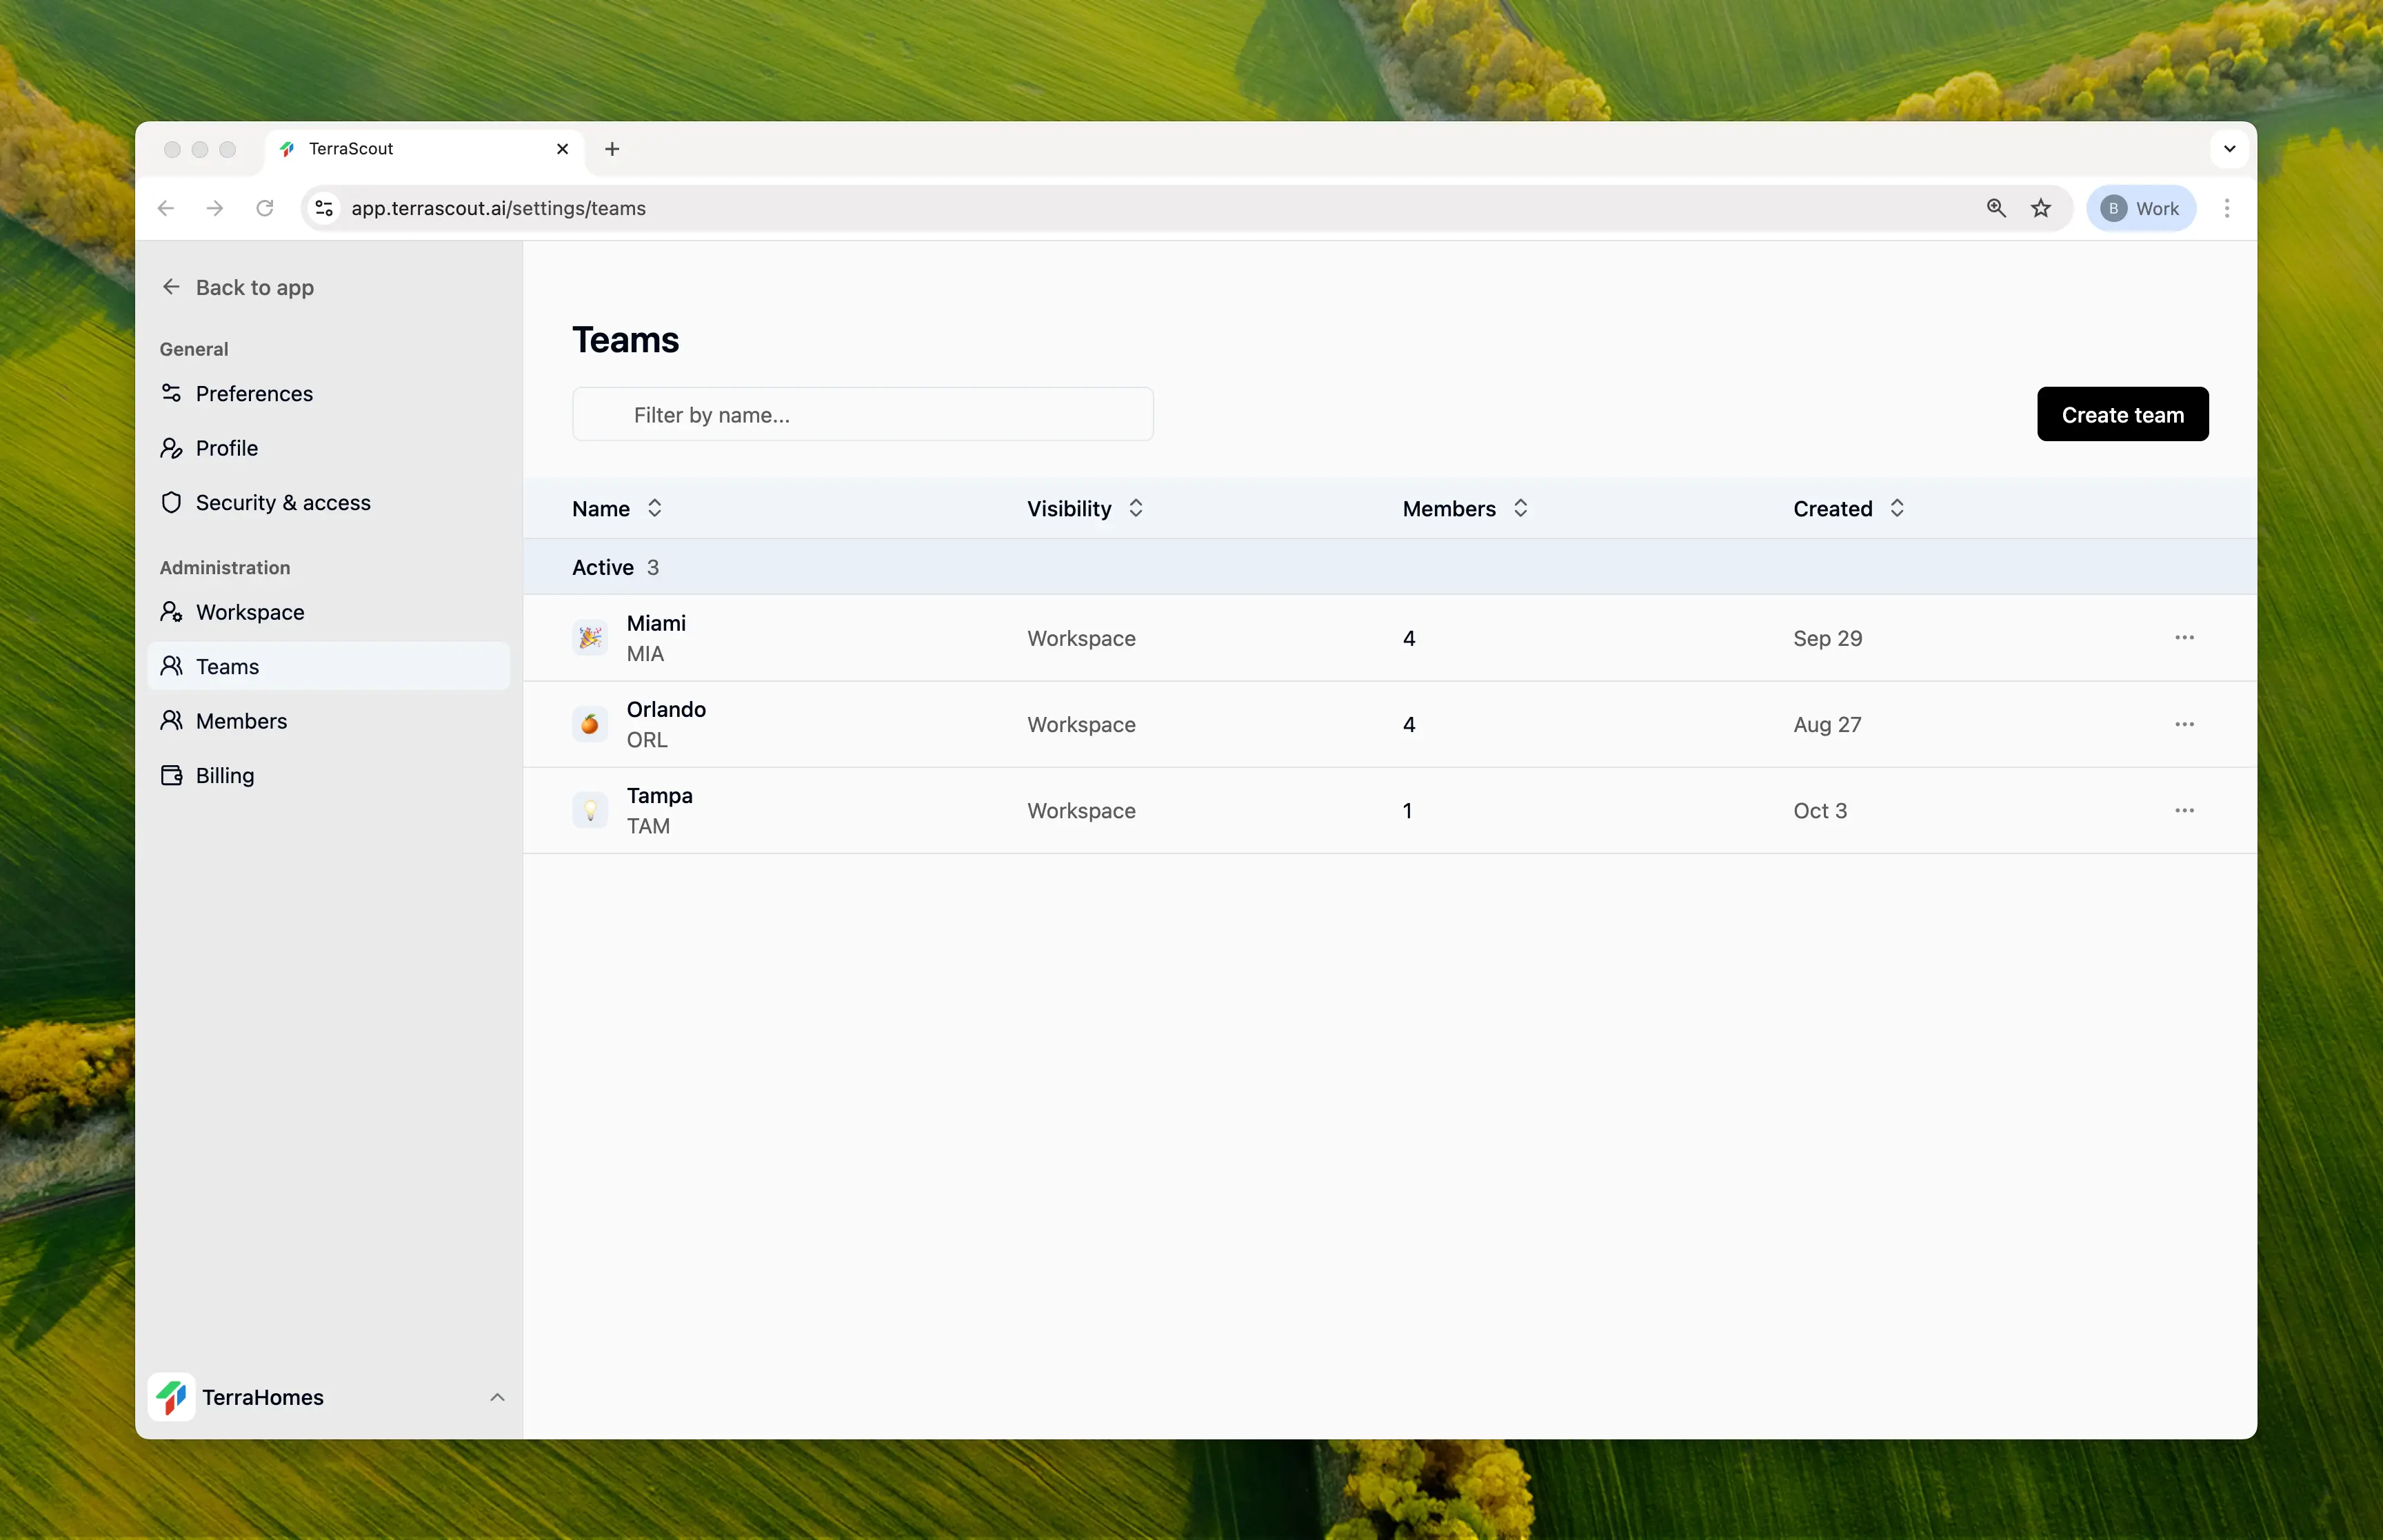
Create Teams
Teams let you organize people within your workspace into groups. This is useful for:- Regional offices
- Different departments
- Project-based groups
Invite Members
Once your workspace and teams are set up, invite your colleagues:- Go to workspace settings
- Click Invite Members
- Enter their email addresses
- Assign them to teams
What’s Next?
Real World Examples
See example workflows for finding land opportunities