> ## Documentation Index
> Fetch the complete documentation index at: https://terrascout.ai/docs/llms.txt
> Use this file to discover all available pages before exploring further.
# Managing Properties
> Add and manage parcels within your leads
 Leads can contain one or more parcels, allowing you to track multi-property opportunities or assemblages. Managing the properties within a lead is straightforward and fully tracked.
## Adding Parcels to a Lead
### During Lead Creation
1. Select one or more parcels on the map
2. Click **Create Lead**
3. Selected parcels are automatically included
4. Review parcel count and total acreage in the dialog
### After Lead Creation
1. Open the lead detail view
2. Navigate to the **Properties** section
3. Click **Add Parcel**
4. Search or select parcels from the map
5. Confirm to add the parcel
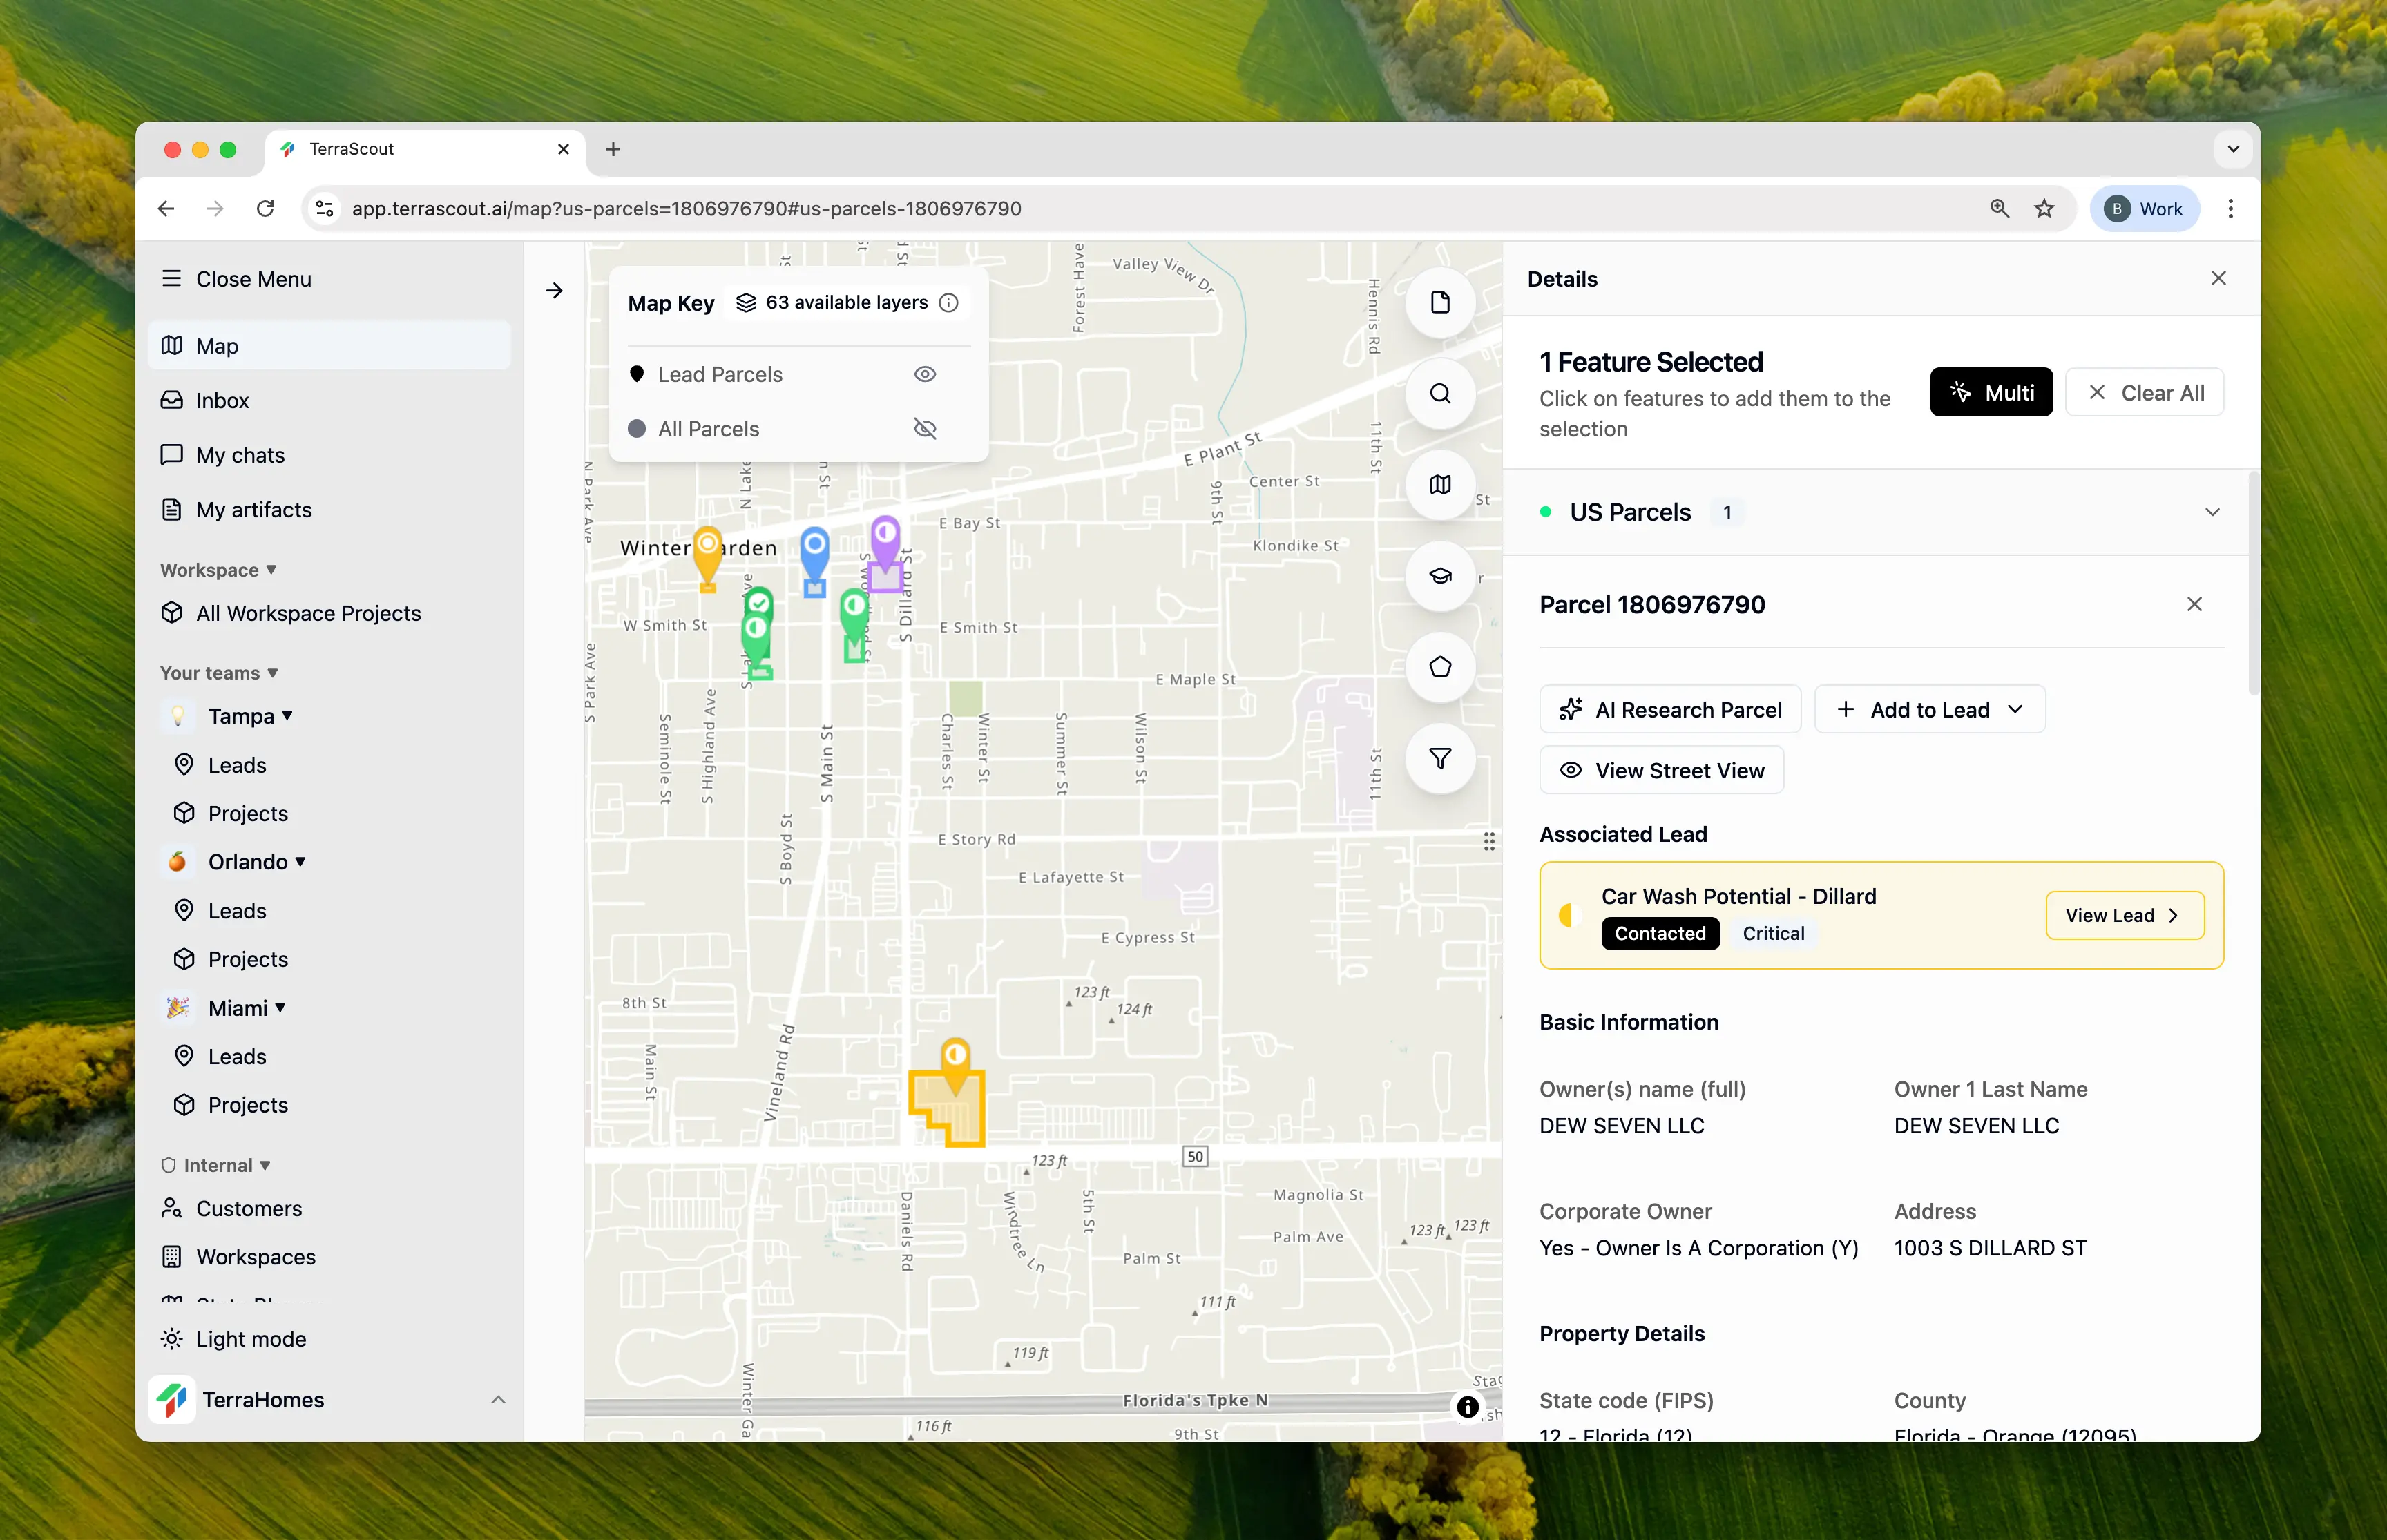
## Viewing Parcel Details
Click on any parcel within a lead to view:
* Full address and location
* Parcel ID and legal description
* Acreage and dimensions
* Owner information from public records
* All available data layers for that parcel
* Coordinates (latitude/longitude)
## Removing Parcels
1. Open the lead detail view
2. Find the parcel in the **Properties** section
3. Click the remove button (or right-click for options)
4. Confirm removal
Removing a parcel doesn't delete it from Ploti—it only removes the association with this lead.
## Multi-Parcel Leads
Multi-parcel leads are useful for:
* **Assemblages** - Combining adjacent parcels for development
* **Portfolio deals** - Multiple properties in a single transaction
* **Phased acquisitions** - Tracking related properties you plan to acquire over time
The lead automatically calculates:
* **Total Parcels** - Count of associated properties
* **Total Acreage** - Sum of all parcel acreage
## Activity Tracking
All parcel changes are tracked in the lead's activity feed:
* **Parcel Added** - Shows parcel ID and address
* **Parcel Removed** - Shows parcel ID and address
This creates a complete history of how the lead's property composition has changed over time.
## Viewing Leads on the Map
Parcels that are part of a lead are visually indicated on the map, making it easy to see which properties you're already tracking.
Leads can contain one or more parcels, allowing you to track multi-property opportunities or assemblages. Managing the properties within a lead is straightforward and fully tracked.
## Adding Parcels to a Lead
### During Lead Creation
1. Select one or more parcels on the map
2. Click **Create Lead**
3. Selected parcels are automatically included
4. Review parcel count and total acreage in the dialog
### After Lead Creation
1. Open the lead detail view
2. Navigate to the **Properties** section
3. Click **Add Parcel**
4. Search or select parcels from the map
5. Confirm to add the parcel
## Viewing Parcel Details
Click on any parcel within a lead to view:
* Full address and location
* Parcel ID and legal description
* Acreage and dimensions
* Owner information from public records
* All available data layers for that parcel
* Coordinates (latitude/longitude)
## Removing Parcels
1. Open the lead detail view
2. Find the parcel in the **Properties** section
3. Click the remove button (or right-click for options)
4. Confirm removal
Removing a parcel doesn't delete it from Ploti—it only removes the association with this lead.
## Multi-Parcel Leads
Multi-parcel leads are useful for:
* **Assemblages** - Combining adjacent parcels for development
* **Portfolio deals** - Multiple properties in a single transaction
* **Phased acquisitions** - Tracking related properties you plan to acquire over time
The lead automatically calculates:
* **Total Parcels** - Count of associated properties
* **Total Acreage** - Sum of all parcel acreage
## Activity Tracking
All parcel changes are tracked in the lead's activity feed:
* **Parcel Added** - Shows parcel ID and address
* **Parcel Removed** - Shows parcel ID and address
This creates a complete history of how the lead's property composition has changed over time.
## Viewing Leads on the Map
Parcels that are part of a lead are visually indicated on the map, making it easy to see which properties you're already tracking.
 ## Viewing Leads for a Parcel
You can also work in the other direction:
1. Click on any parcel on the map
2. View the **Leads** section to see all leads containing this parcel
3. Click to navigate directly to any associated lead
This is helpful when researching a property to see if it's already being tracked.
## Best Practices
Add the primary target parcels first, then expand as needed.
Use the map view to verify you've captured the right parcels.
Use the lead description to explain why specific parcels are grouped.
Remove parcels that are no longer part of the opportunity.
## Viewing Leads for a Parcel
You can also work in the other direction:
1. Click on any parcel on the map
2. View the **Leads** section to see all leads containing this parcel
3. Click to navigate directly to any associated lead
This is helpful when researching a property to see if it's already being tracked.
## Best Practices
Add the primary target parcels first, then expand as needed.
Use the map view to verify you've captured the right parcels.
Use the lead description to explain why specific parcels are grouped.
Remove parcels that are no longer part of the opportunity.